Features
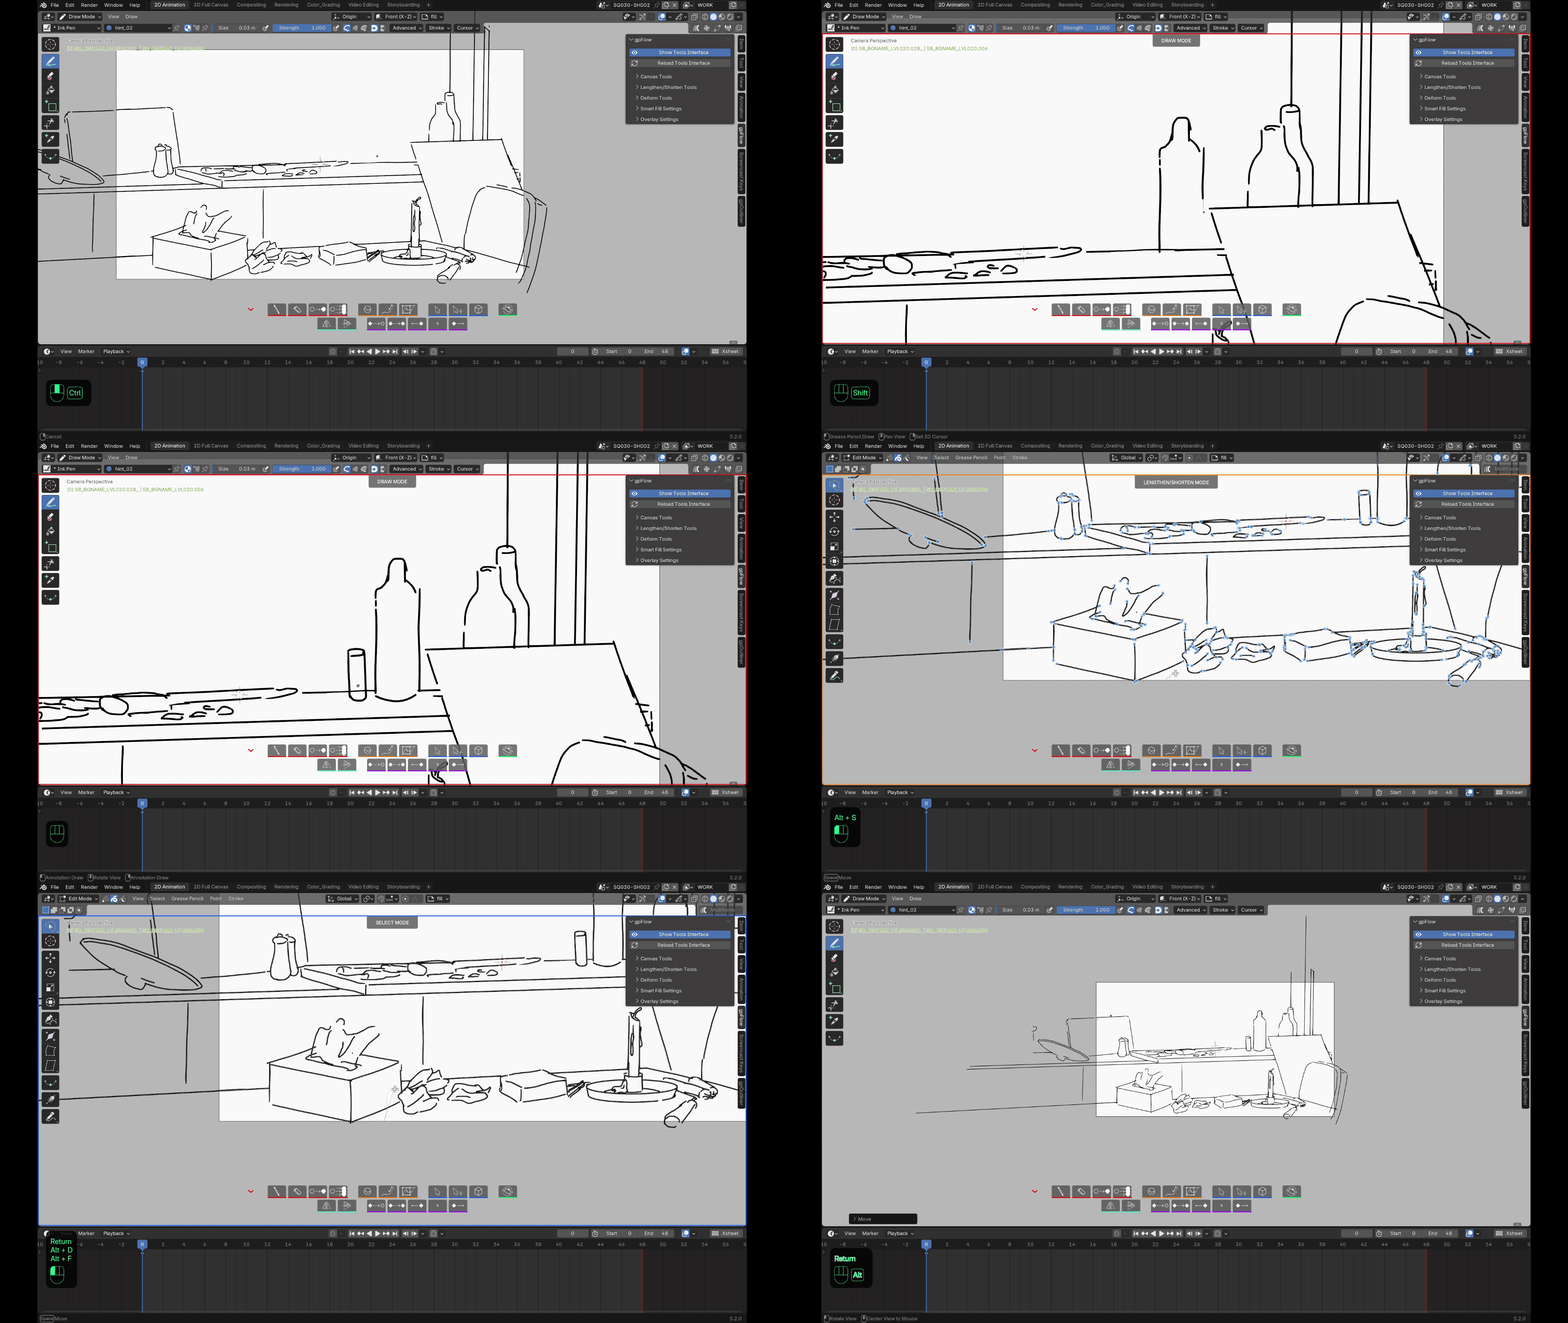
Every button on the toolbar has its own keyboard shortcut, shown in its tooltip and remappable in Preferences — not called out again for each tool below.
Drawing
- Draw mode in one click, with the last brush used for this mode — remembered for the current session, not kept across a Blender restart.
- Erase mode in one click, consistent with the other modes.
- Fill mode in one click — drives Blender's own native Fill tool, so you keep every brush setting (extension lines, gap closing...). Shift+click removes a fill under the cursor, searched across every visible, unlocked layer (not just the active one, since a fill lands on whichever layer was active at the moment of that click, which may have changed since) — a gesture with no native equivalent.
In these three modes, right-click still opens the brush's or the Fill tool's own native options (direction, settings...) instead of closing the mode — only Esc and Enter exit it. Ctrl+Z / Ctrl+Shift+Z undo/redo without losing the brush you were using.
Reshape strokes
- Lengthen/Shorten — grab a stroke's nearest endpoint, highlighted live as you hover, and drag.
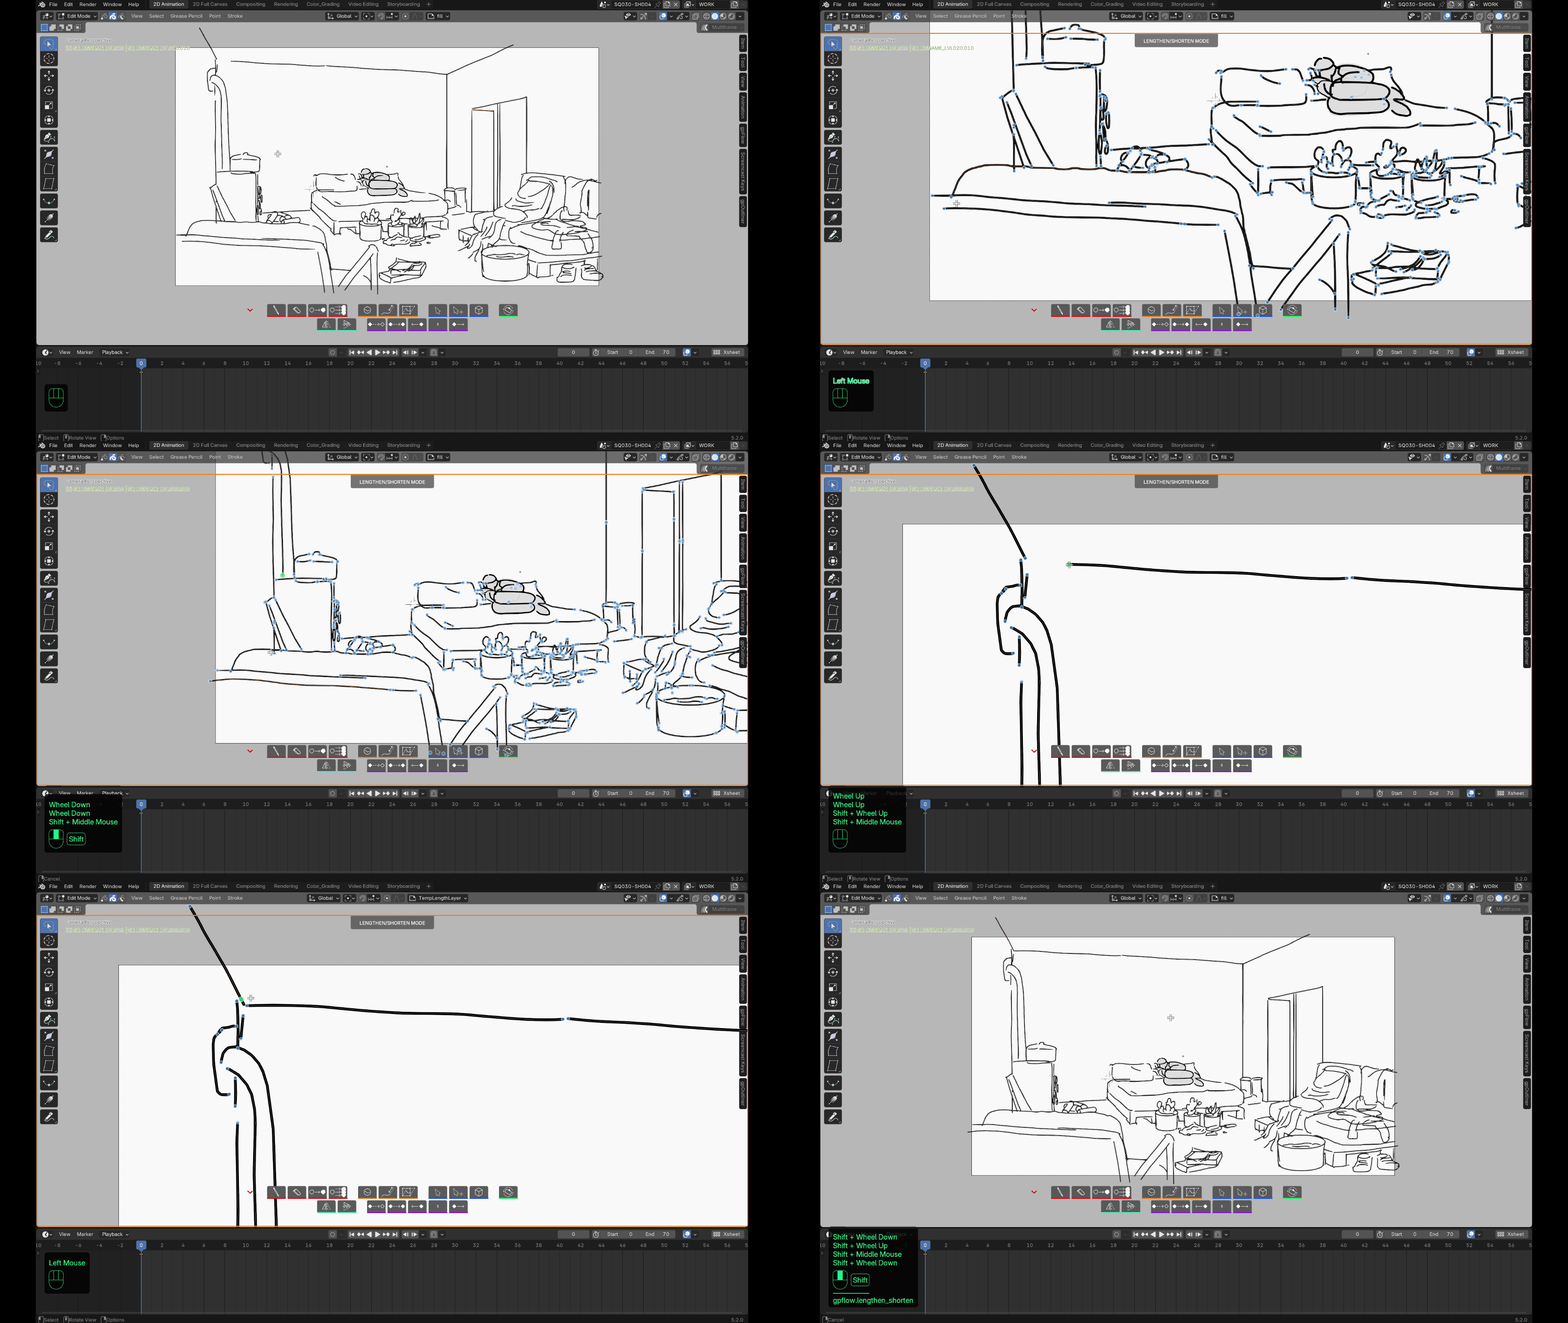
The tool stays active after each drag, so you can work through several strokes in a row without relaunching it (Esc or right-click to exit for good). The Lengthen/Shorten Tools panel in the sidebar controls the endpoint display (visibility, size) and the detection radius around the cursor.
- Deform drops a view-aligned lattice around your selection — aligned at the moment the tool is launched — for quick, natural-looking distortion (2D or volumetric, adjustable resolution). Ctrl+click the Deform button (or its own dedicated shortcut, independent from the base Deform shortcut and remappable in Preferences) to build that lattice straight from a selection you already made, instead of selecting again once inside the tool.
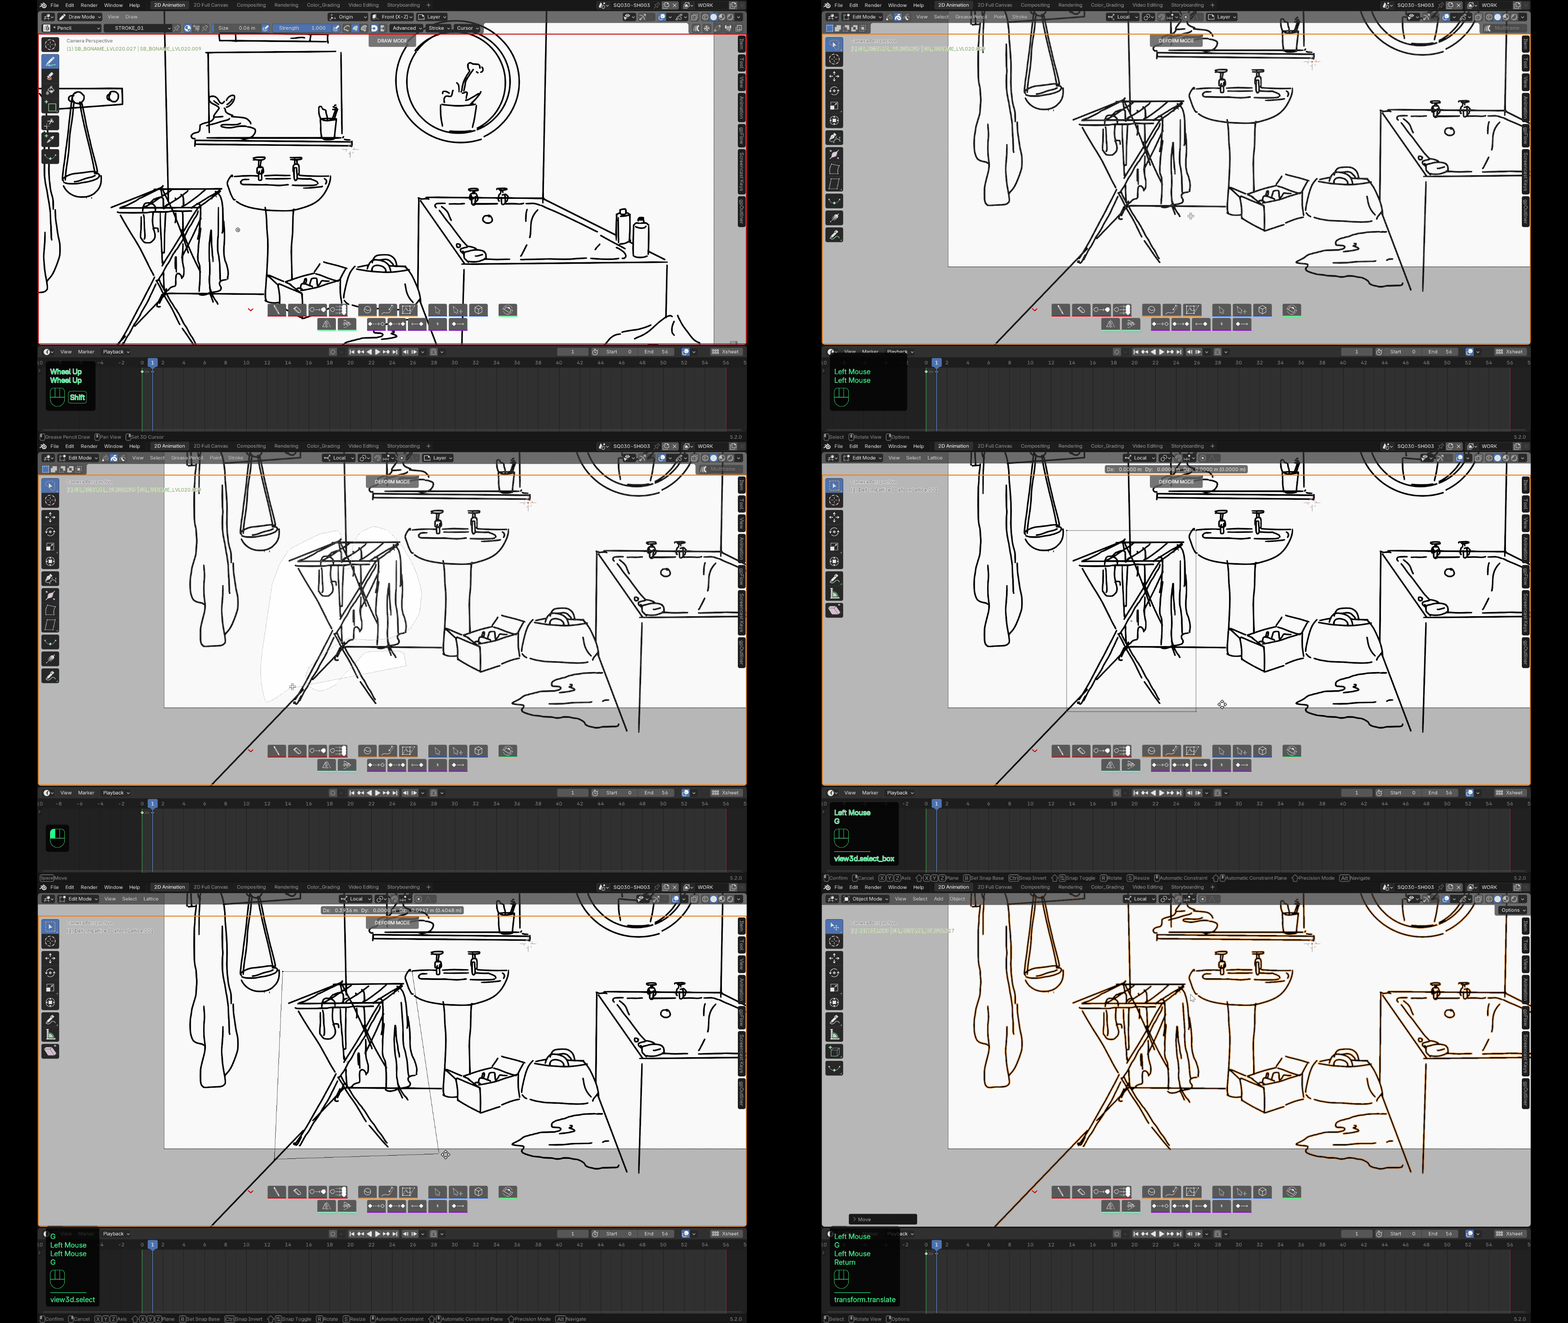
The Deform Tools panel sets the lattice's alignment axis, 2D/3D mode and subdivision count before you launch the tool. Only one lattice at a time: once a distortion has started, the tool won't spin up a second one for a new selection within the same use — exit and relaunch Deform to work on another group of strokes.
- Sculpt drops you straight into Blender's native sculpt mode, with safer undo behavior. Just like Draw/Erase/Fill, right-click keeps its native use; only Esc/Enter bring you back to Draw mode.
Select & Transform
- Select arms Blender's native lasso tool directly in Edit mode, ready to select — no menu involved. X deletes the current selection without leaving the tool; Ctrl+Z/Ctrl+Shift+Z work normally.
- Select & Transform does the same, then automatically hands you into Move the moment the lasso takes the selection from zero to at least one point — no extra click between selecting and moving.
Flip
Mirrors your strokes around a shared center so a flipped pose stays consistent across frames. Applies to the current stroke selection, or to every stroke on visible/unlocked layers if nothing is selected (never a silent no-op). Respects multi-frame editing — with it on, every selected keyframe is flipped together around the same axis, not frame by frame — and skips locked layers automatically.
Canvas
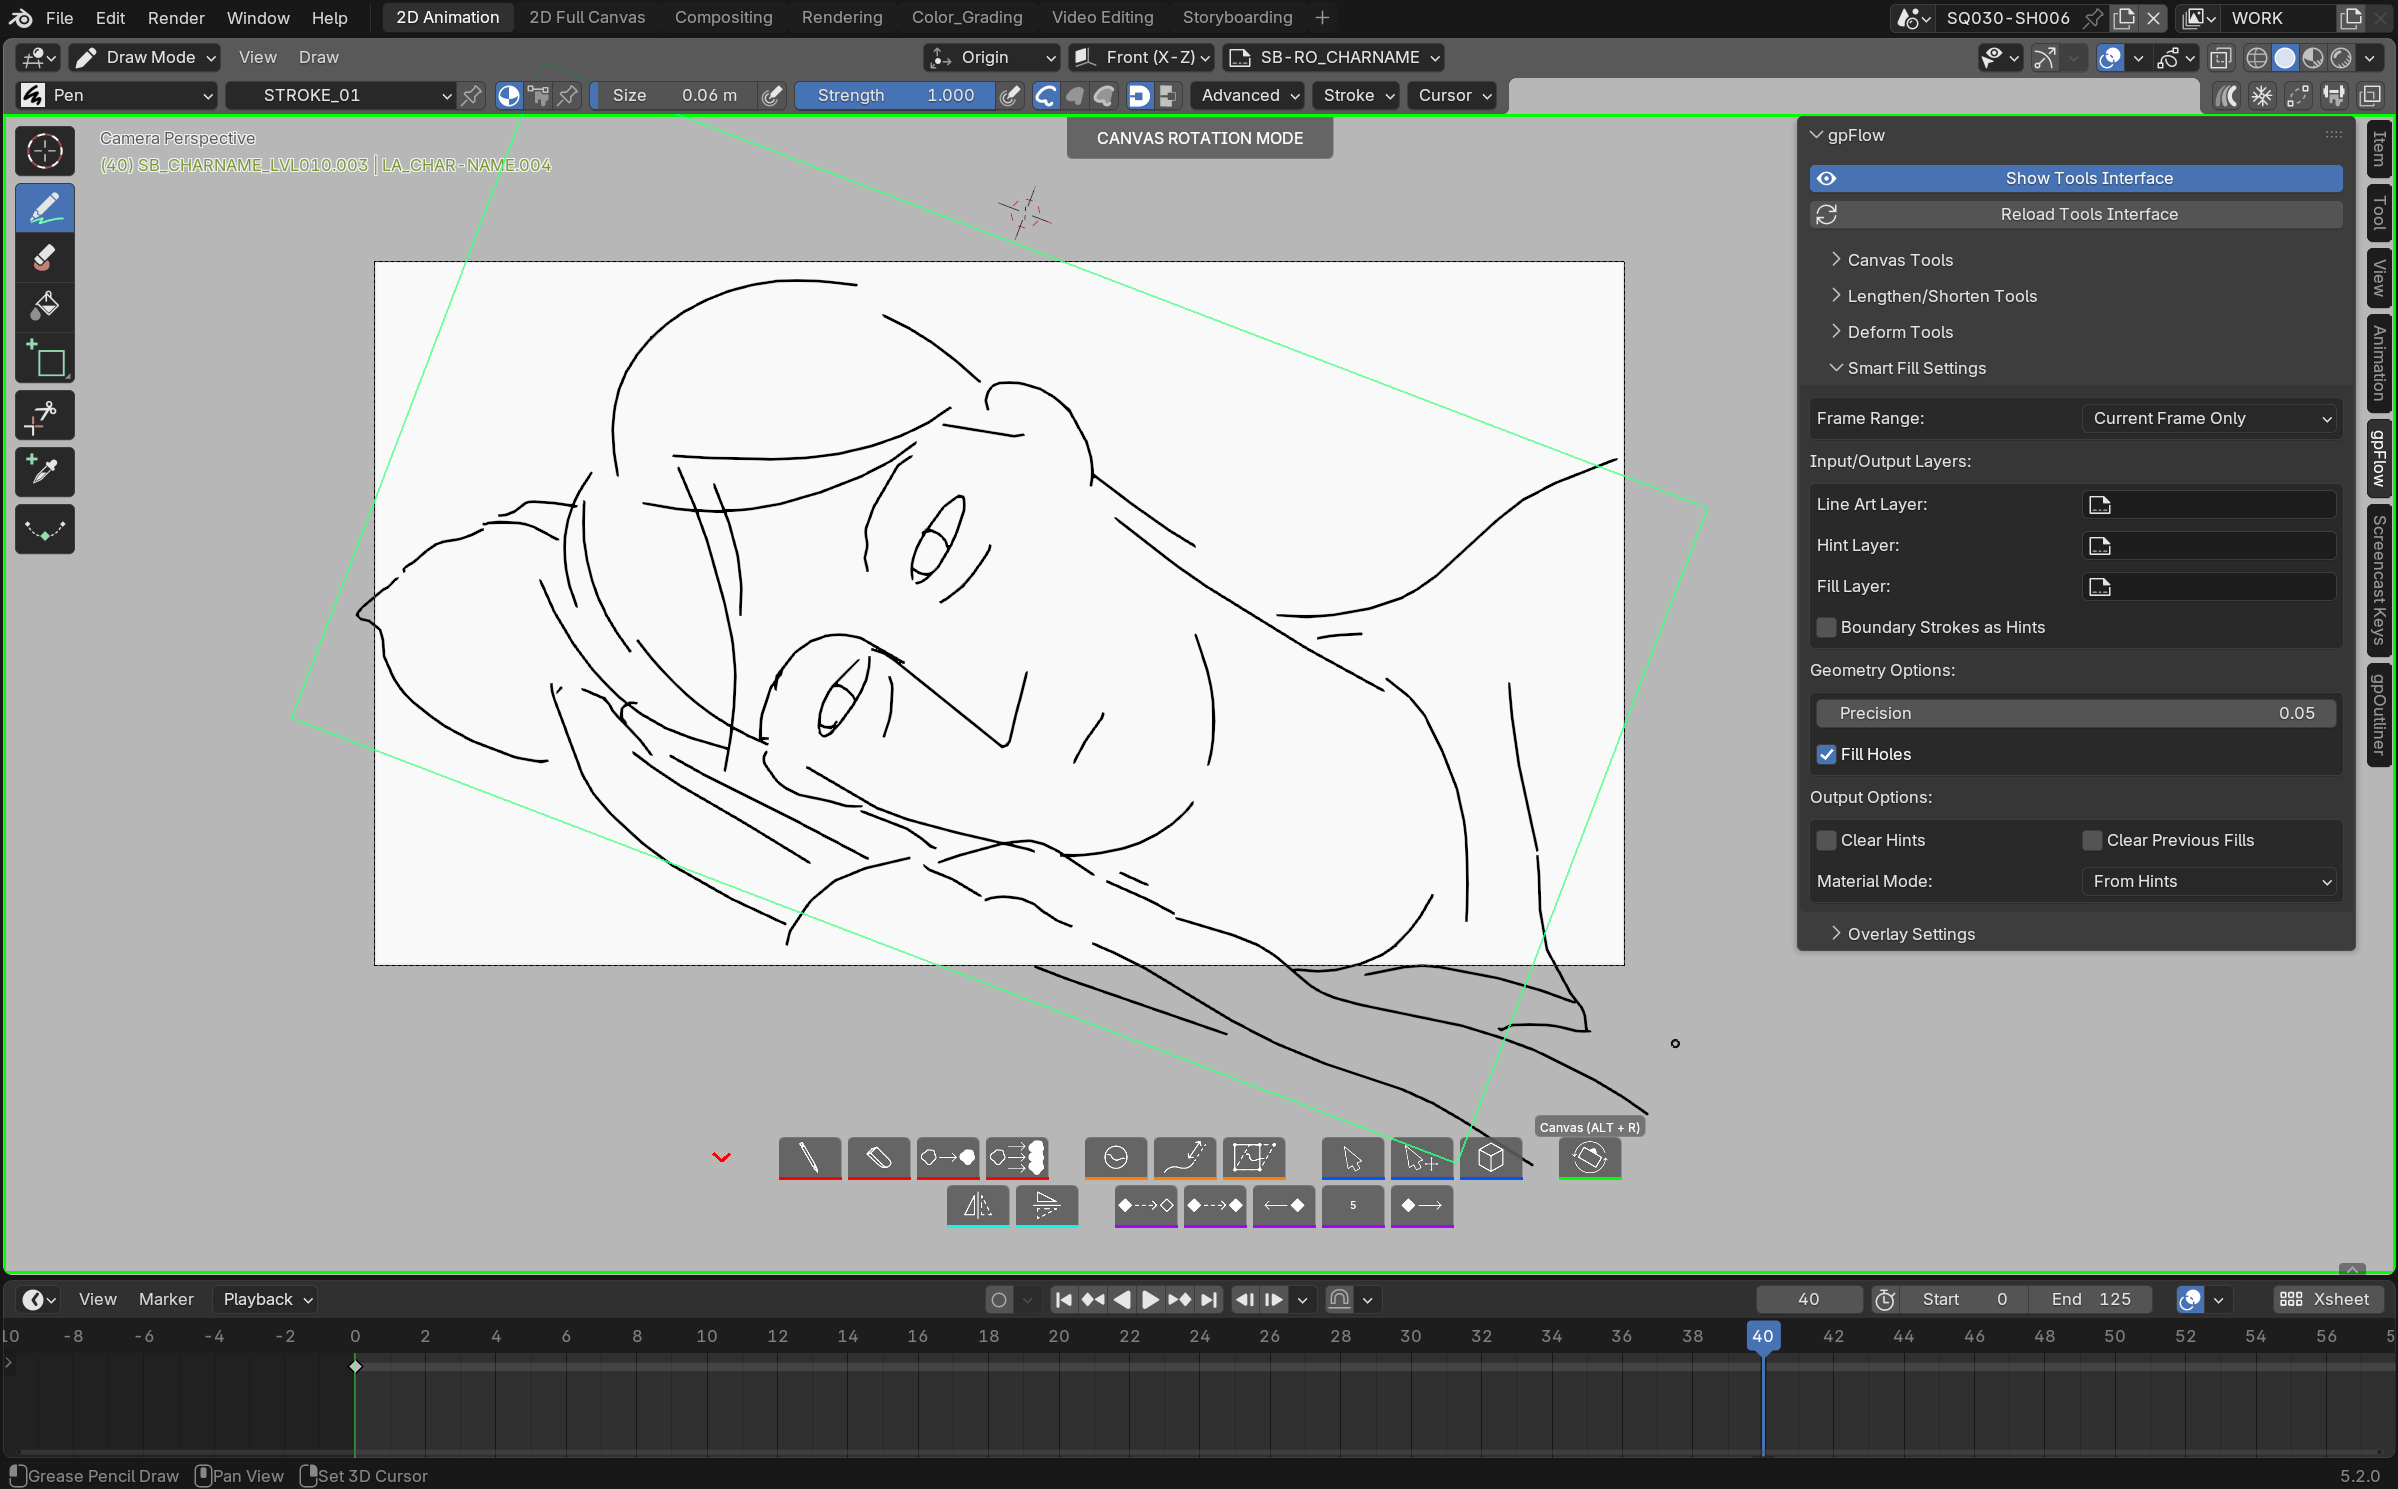
Click the Canvas button, then drag horizontally to rotate the scene's own camera (not just the view) around its local axis, to a more comfortable drawing angle without losing your original framing: hold Ctrl while dragging to snap to 15° increments. A green reference frame stays on screen the whole time you're rotating, so you always know how far you've turned from where you started.
Ctrl+click the Canvas button itself to jump straight back to your original framing, without even starting a drag — same effect as the Reset Canvas Rotation button in the Canvas Tools sidebar panel. The original framing is only ever memorized once per scene, the first time the tool is used. The same sidebar panel also surfaces the camera's passepartout opacity, Blender's own native setting.
Animation shortcuts
- Insert an empty key at the current frame, across every visible layer — or Ctrl+click the button to restrict it to the active layer only.
- Duplicate the previous key, same click / Ctrl+click logic (all visible layers, or just the active one).
- Shift a whole run of keyframes forward or backward by an adjustable number of frames, set by clicking the toolbar's numeric badge. The shift applies to both the Grease Pencil keyframes and the object's own F-Curve animation keys (handy if a camera or an empty is itself animated alongside the drawing).